Courageous Craig

Inspiration

This week I chose Craig to work with and when he gave me this pose during our photo shoot I immediately knew I wanted to do a Spiderman inspired piece.

use

     His favorite color is red and fit perfectly into my theme. I chose a grungy red and black background and added a spider web that stretches across the entire photo with a blending mode of overlay.

393400 spider_web_box

Phase 1

     Altogether I adjusted, transformed, and repositioned these elements to create this starting point for myself. I decreased the brightness and adjusted the contrast of Craig’s body so that he wouldn’t stand out from the background as much. I added a contact shadow under his hand and fixed his red eye.

Starting Point

Phase 2

     Craig is one of my acrobatic/dancer friends and some of his hobbies include mixing music and playing his instruments. I wanted to incorporate his passion for music into this piece so I used some music notes, a sound wave, and representation of music beats. This phase took a little while for me to figure out because I couldn’t decide on if I wanted different colors around the project or if I should stick to common shades. I finally decided to desaturate and also lighten up the elements surrounding Craig to make everything cohesive.

Final Product

Craig is always exploding with energy and what better way to visually describe that and have it tie into this piece than to include fireworks. I enlarged his body, lowered him a little bit, and set the firework behind him with a blending mode of luminosity applied to it. I added a few more music notes, stepped back from the piece, and was very satisfied. Here is the final product of my Spiderman.

Final Product

Beautiful Brittany

This week I wanted to show how I’ve been creating my previous designs using a photo of myself. The original picture was professionally taken by Dirty Sugar Photography in New York City as a promotional shoot for the Broadway Dance Center.

I love the fact that this was taken on a rooftop overlooking the city but in my dance career I strive to reach the stars. I wanted to place myself in an outer space setting where there are no limits and I also wanted to incorporate some of my own personality into this piece. I looked online for pictures of stars, galaxies, roses, lights, and some interesting textures as you can see below.

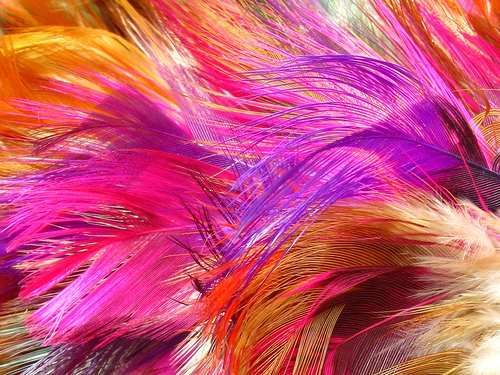
Galaxy Stars Roses City Lights Glitter Feathers

Step 1

I started with the original image of myself and cut out the background by using the quick selection tool. I also refined my edges so that the selection looked less jagged.

Original Image Step 1

Step 2

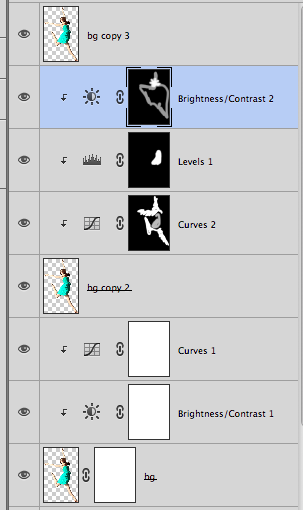
Next, I added the galaxy background and transformed it numerous times before this project came to an end. I also messed with a couple different blending modes on my body throughout this process. I darkened my skin tone by using the curves and brightness and contrast adjustments so that I would look as one with the and not as though I am sitting on top of it.

Step 2

Step 3

My favorite flowers are roses and during the next step I added those to this bottom of the piece. I cut out the roses to start, placed them accordingly, and set them to a blending mode of Overlay. I then adjusted the hue and saturation of them to make the red stand out a bit more. During this step I also added two other layers of my body with different modes and adjustments to establish this look.

Step 3Panel Shot with step 3

Step 4

My next move when very experimental because I had a lot of textures to choose from but wasn’t sure which would fit nicely into this piece. I found some crazy lights and decided to add those to the bottom of the piece overlaying the roses. To me these lights represent the fast pace of New York City and loved how they tied into the image.

Step 4

Step 5

Next, I added this fun trickling glitter to the top of this project which interrupted the galaxy in such a great way that I think it really took this piece to the next level. The glitter has a blending mode of soft light applied to it and there are actually two layers of the glitter that I place side by side. I also added the image of feathers to my dress just to change the appearance slightly.

Step 5

Final Product

Below displays my final product and to connect my theme of reaching for the stars I added another layer of stars. This layer was given a Lighten blending mode and definitely completed the project.

Final Product

From inspiration comes experimentation.